Last updated: October 27, 2026
Most people picture a drill, a wall box and an afternoon of noise. That part is real, and it is the smallest part. The owners who come through the process calm and on budget are the ones who understood how to organize EV charger installation as a paperwork-and-arithmetic project with a short burst of drilling in the middle. The drilling takes half a day. The organizing decides whether you pay $1,200 or $4,700 for the same electrons.
A home charger needs three things to agree: the panel (the house’s power budget), the circuit (the pipe that budget flows through) and the charger (the tap at the end). Every step below makes those three agree before anyone picks up a drill.
The jargon is smaller than it looks. Service is the total power your home can draw, printed on the main breaker as 100, 150 or 200 amps. A load calculation is the worksheet that checks whether that budget has room for one more big appetite. A continuous load runs three hours or more — a car charging overnight is the textbook example.
One more thing before the steps. One pattern repeats in owner reports: nobody reports that the charger itself was hard. Owners report the panel verdict they did not expect, the permit that took longer than the wiring, and the quote that doubled when the garage turned out to be farther from the panel than it looks. This guide is organized around those three reported surprises, in the order you can prevent them.
How to organize EV charger installation, step 1: start at the panel, not the charger
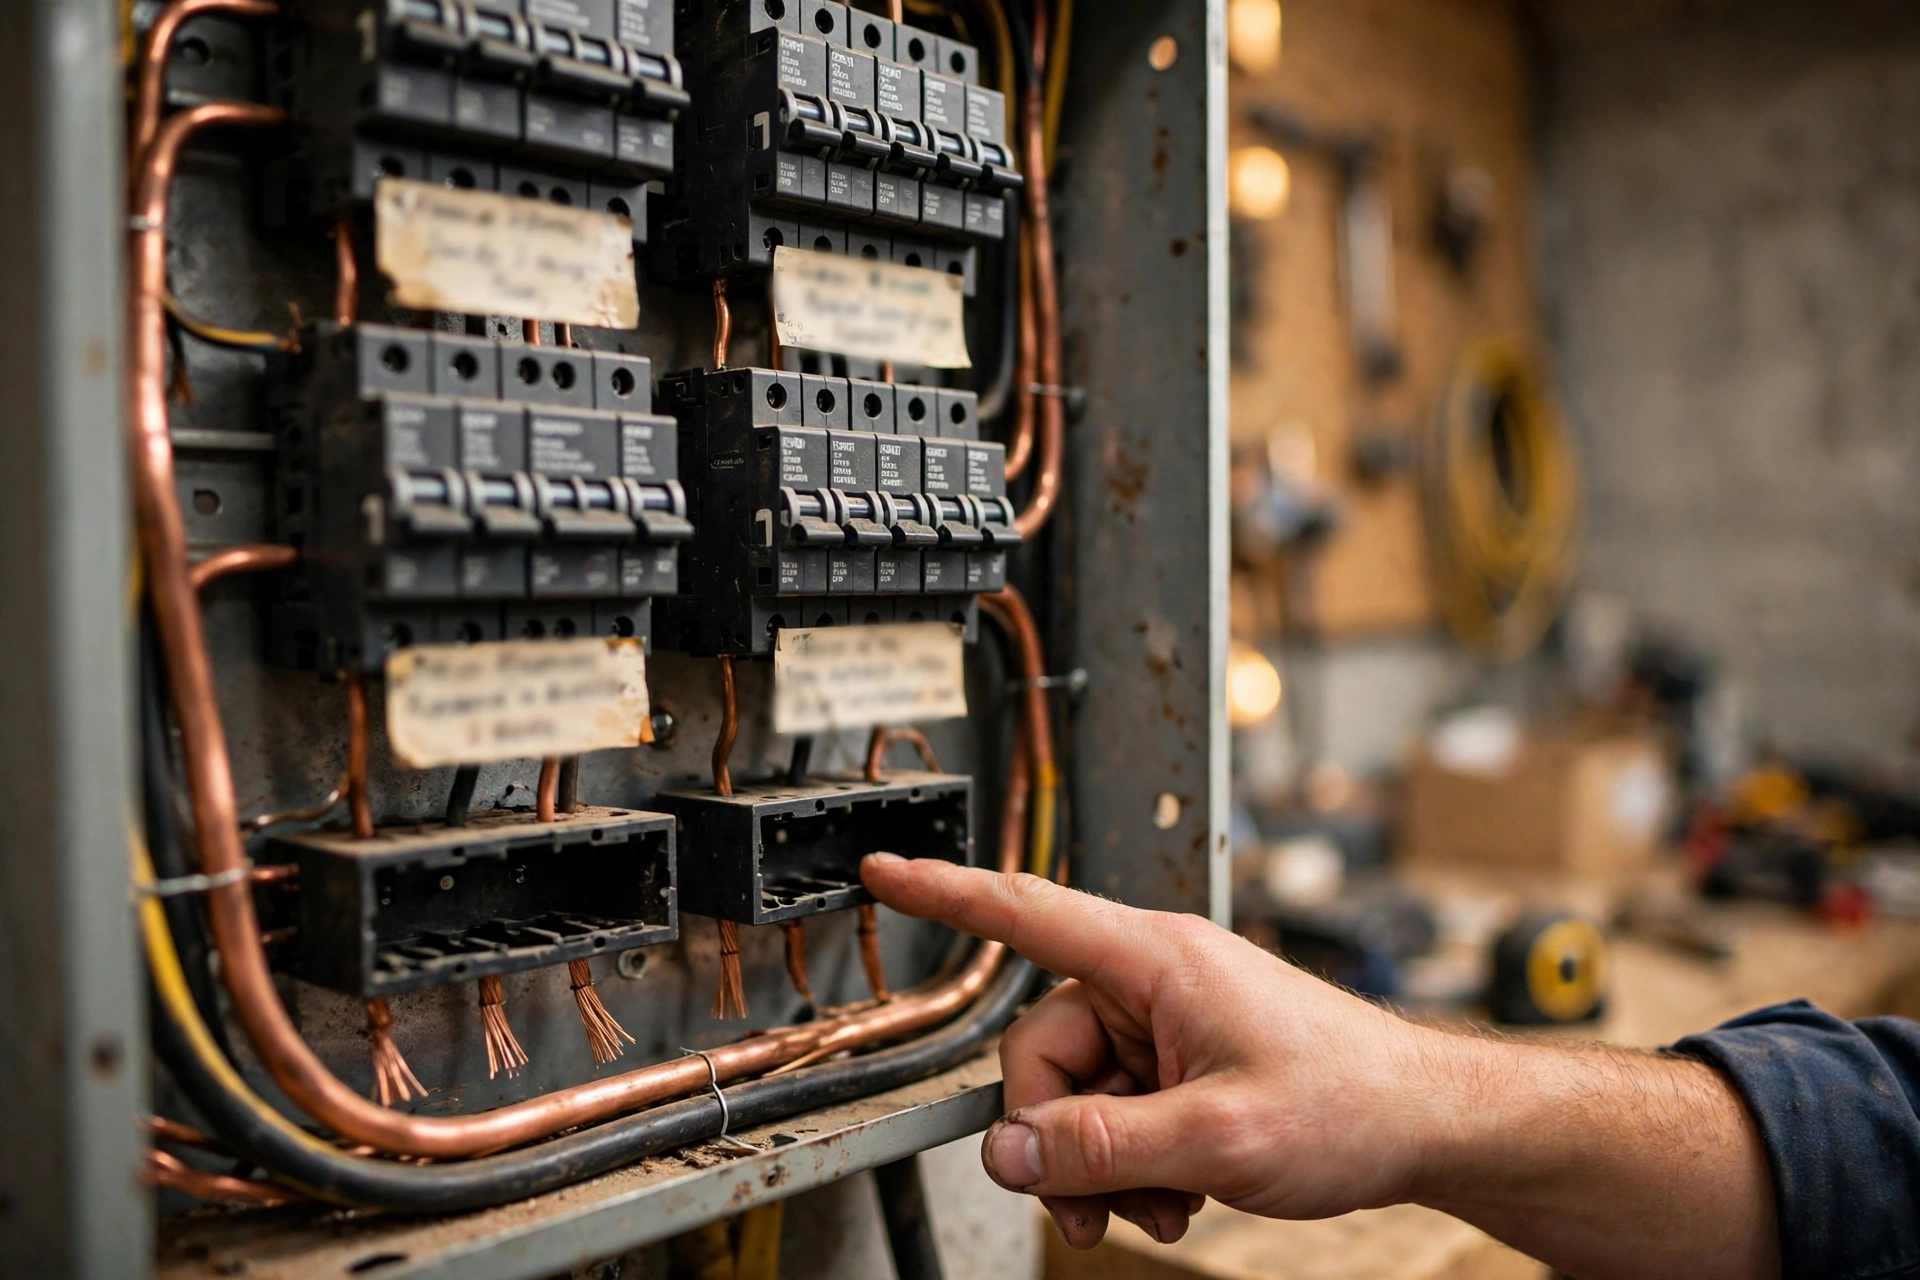
Walk to your panel and read the number on the main breaker. That is your service size — the single most useful fact in this project. Think of the panel as a restaurant kitchen and the service size as its burners: your dryer, oven, air conditioner and water heater are already cooking. The load calculation is the head chef counting burners before agreeing to one more large order that will simmer for eight hours straight.
The worksheet comes from Article 220 of the National Electrical Code, with a simplified optional method (NEC 220.83) for existing houses. It is arithmetic, not opinion: square footage, big appliances, heating and cooling, the code’s demand factors — out comes one number, the amps your house uses on paper. Subtract it from your service size: that is the honest headroom for a charger.
Two warnings live here, both from owner reports. First, empty breaker slots are not capacity: a panel can show four blank spaces and still be fully loaded on paper, because slots measure room for breakers, not room in the budget. Second, 100-amp service is not a dead end: plenty of 100-amp houses charge nightly, with a smaller charger setting, a load-management device, or both (step 2).
Get the load calculation in writing. It fits on one page, takes fifteen minutes, and every later decision — charger size, circuit size, whether an upgrade is real or salesmanship — hangs off that number. An electrician who will not show you the worksheet is asking you to buy the quote’s most expensive item on trust alone.
Step 2: pick the charger and the circuit together — the 80 percent rule in plain English
Chargers are sold by amps — 32, 40 or 48 at home. The circuit feeding them is always one size bigger, for the most quoted reason in this trade. NEC Article 625 treats a charger as a continuous load and requires the circuit — breaker and wire — to be rated at 125 percent of the charger’s draw (NEC 625.41). A 40-amp charger rides on a 50-amp circuit. A 48-amp charger rides on a 60-amp circuit. Owners meet the same rule from the other side as the 80 percent rule: a charger may only sip 80 percent of its circuit’s short-burst rating, because it sips for hours.
My position, stated plainly: buy the 40-amp charger. Overnight is eight hours; at 30-plus miles an hour the 40-amp unit returns roughly 250 miles while you sleep — all but the longest daily driving in America. The 48-amp upgrade buys minutes you will spend unconscious, at real cost: heavier wire, a pricier breaker, a bigger bite from a tight panel’s budget. Everyone else is buying a number for the spec sheet.
Hardwired or plug-in? A plug-in charger uses a heavy-duty NEMA 14-50 receptacle and tops out at 40 amps on a 50-amp circuit; recent code editions also ask for GFCI protection on that receptacle (NEC 625.54), usually a GFCI breaker in the quote. Hardwired units skip the receptacle, reach 48 amps, and suit outdoor installs. Choose plug-in if you might move, hardwired if it lives outdoors; the only wrong answer is paying for both.
If the load calculation came back tight, here is the escape hatch. NEC 625.42 allows an energy management system: a listed device that watches the house’s total draw, throttles the charger down when the oven, dryer and air conditioner run at once, and opens it back up at 2 a.m. A charger governed that way counts at its managed ceiling, not its nameplate — which is why a 100-amp panel often does not need a $3,000 upgrade, just a $650 (est.) referee.
How to organize EV charger installation quotes: three bids, one format
Quotes for this work are famously incomparable. Fix the format first. Send each bidder the same brief: charger make and amp setting, hardwired or plug-in, the panel-to-parking distance measured honestly, and one instruction — itemize into charger, materials, labour, permit, and any panel work as a separate line. A fair quote names the wire gauge, breaker type, assumed run length, and whether permit and inspection are included.
Sanity-check numbers, checked October 27, 2026: Qmerit publishes 2026 figures of $749 to $2,500 for a Level 2 installation, averaging about $1,700, with the average permit adding about $282. Chargers run $300 to $700. A quote far under that band forgot the permit or the wire; a quote far over it should point at its explaining line — distance, trenching, panel work. If it cannot point, it is padding.
Two routes lead to an electrician: installer networks (Qmerit is the big one; utilities run their own lists) or a local licensed electrician with recent EV installs, often cheaper and faster to schedule. The route owners report regretting is the unlicensed cash special, no permit — it saves perhaps $300 and risks the insurance, the rebate and the resale disclosure in one move.
Second position, also plainly: never accept a panel-upgrade quote that arrives without the written load calculation behind it. The upgrade is the largest line, genuinely necessary in a minority of houses, and the line where owner reports of over-selling cluster. A firm that will not produce the worksheet has told you how it does business.
The arithmetic: three real-shaped installs, itemized
Abstract ranges hide the truth, so here is how to organize EV charger installation money: three complete installs, workings shown. Prices checked October 27, 2026; (est.) lines are typical-market estimates, since labour and copper move by city.
Install A — the friendly garage. Panel inside the garage, charger mounted eight feet away, 40-amp plug-in unit on a 50-amp circuit. Charger $449 + breaker, industrial-grade receptacle, short cable run and conduit $168 (est.) + labour, about two and a half hours, $390 (est.) + permit and inspection $185 (est.) = $1,192 all in.
Install B — the 60-foot run. Panel in a finished basement, car in the garage, 48-amp hardwired unit on a 60-amp circuit. Charger $549 + 60 feet of 6 AWG copper in conduit at $9.50 a foot = $570 (est.) + 60-amp GFCI breaker $118 (est.) + labour, about six hours including fishing cable through finished walls, $840 (est.) + drywall patching and paint $210 (est.) + permit and inspection $265 (est.) = $2,552 all in. Distance is the villain: that $9.50-a-foot line alone costs more than the charger.
Install C — the 100-amp panel, two ways. The load calculation fails, so first the upgrade route: service upgrade to 200 amps (new panel, meter work, utility disconnect and reconnect) $3,150 (est.) + charger $549 + short-run circuit materials $232 (est.) + charger-circuit labour $460 (est.) + permit and inspection on the larger scope $310 (est.) = $4,701 all in. Now the managed route: keep the panel, add the energy-management device, and the rest is charger $549 + materials $232 (est.) + labour $460 (est.) + permit $190 (est.) + management device fitted $950 (est.) = $2,381 all in. Same car, same overnight speed for almost every routine, $2,320 apart. That is why step 1 is arithmetic, not vibes.
Before committing, run your own version of these sums with our EV home charger installation cost estimator — it uses the same line items, so quote and estimate compare line by line, not gut against gut.
Step 4: the permit and the inspection — the cheapest insurance in the project
In most US jurisdictions a new 240-volt circuit needs a permit, and the finished work a short inspection visit. Your electrician normally pulls the permit, and the fee sits in the $50-to-$800 spread owners see, averaging about $282 on Qmerit’s 2026 figures. Some cities issue over the counter; others take several weeks in busy seasons (est.). The inspection itself is a fifteen-minute appointment on a later day.
Third position, and I will not soften it: get the permit. Owners ask whether it is avoidable; the honest answer is that the permit is not about the fee or the city’s curiosity. It is the document that makes the rebate payable, the paper a home buyer’s inspector will ask for in five years, and the difference between an insurance claim and an insurance argument if anything electrical ever goes wrong in that garage. At $282 on average, it is the cheapest insurance in the project.
While the permit is in flight, do two free jobs: photograph your panel, door open, main breaker legible, and check your utility’s EV page for enrolment deadlines, since some rebates must be registered before the install date. The Department of Energy’s Alternative Fuels Data Center walks through the same sequence in its guide to charging an electric car at home.
Step 5: install day, and the twenty minutes that matter most
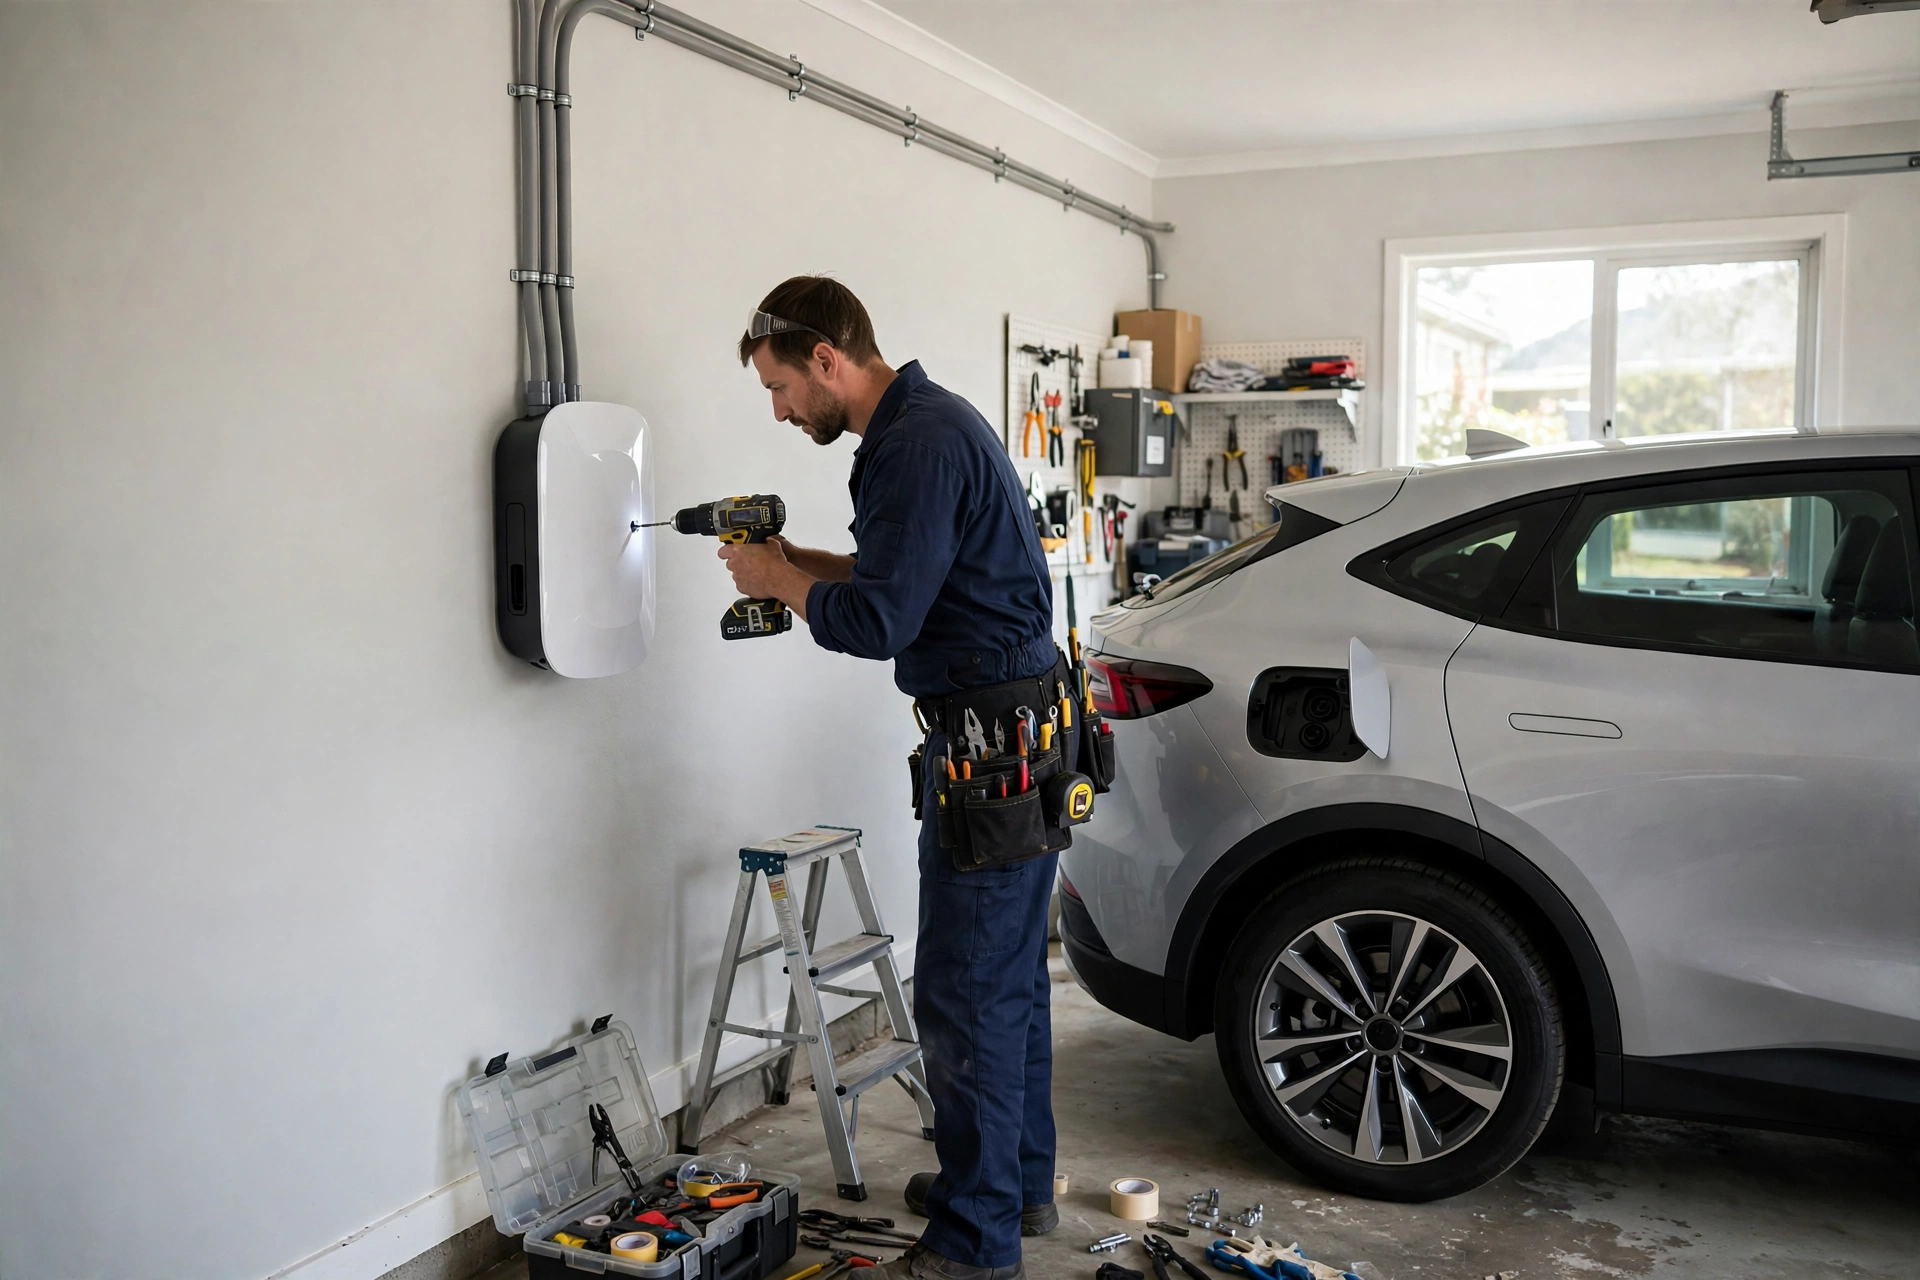
By the time install day arrives, how to organize EV charger installation has already been decided — the day itself is anticlimactic, which is the point. Expect the power off for one to three hours (est.) while the breaker and circuit go in. The charger mounts, the lugs get torqued to the manufacturer’s figure, and the circuit is tested under load. Owners reporting smooth days share one habit: the car is home, charged low, and plugged in before the electrician packs up — the first real charge happens with a professional still standing there.
Before they leave, spend twenty minutes on the unglamorous trio: set the app’s charging schedule to your utility’s off-peak window, now, while it is a two-minute job; take dated photos of the charger, the new breaker and the permit card; file invoice, permit and photos in one folder. That folder is your rebate claim, warranty evidence and resale disclosure, pretending to be housekeeping.
What owners say: the three surprises, and how each one is dodged
Owner reports on how to organize EV charger installation, read in bulk, keep returning to the same three surprises. Notice that none of them is about charging.
The panel surprise. The quote that doubles overnight, because the bid was written from a photo of the panel door instead of a load calculation — or the upgrade was needed and nobody said so early. Owners also report the mirror image — an upgrade quoted on sight that a second worksheet disproved. Both versions are dodged the same way: step 1’s written number, before the charger is even chosen.
The permit surprise. The work took a day; the permission took weeks (est., varying sharply by city). Owners in fast-growing suburbs report backlogs measured in weeks, the charger sitting finished and silent. It stings — and it still beats meeting those consequences at rebate or resale time, as owners who skipped the permit report. Book the permit before the install date, and ask what the local backlog looks like this month.
The distance surprise. Copper is priced by the foot and labour by the obstacle, so the detached garage is where budgets get revised. Trenching — digging, conduit, backfill, repairing whatever the trench crossed — commonly runs $10 to $25 a foot on top of the electrical work (est.), so a modest 40-foot trench adds $400 to $1,000 before the charger appears. Owners who called a fifty-five-foot route “about thirty feet” report a memorable invoice.
Step 6: rebates and time-of-use — money after the federal credit ended
Money is the last stage of how to organize EV charger installation, and it starts with a correction half the internet has not made: the federal Section 30C tax credit — 30 percent of a home charger’s cost, up to $1,000 — ended for equipment placed in service after June 30, 2026. Installed on or before that date in an eligible census tract, it can still be claimed on your 2026 return with Form 8911. Installing now, in October 2026? Budget as if it does not exist, because for you it does not.
What remains is local, and it is real money. Utilities commonly offer $250 to $1,000 or more toward a permitted install, usually with a condition attached — a time-of-use rate or a managed-charging programme. Southern California Edison’s home-installation pilot, described on Edison’s own programme page, pays up to $500 toward a standard install on a whole-home time-of-use rate, and up to $1,500 on the dedicated-meter option. Read the conditions first — several programmes exclude work done before the application lands.
The rate itself is where the quiet money sits. A household driving 12,000 miles a year at 0.30 kWh per mile pushes 12,000 × 0.30 = 3,600 kWh a year through the charger. At a flat $0.17 per kWh (the EIA’s residential average, rounded) that is 3,600 × $0.17 = $612 a year. Shift the same charging into an off-peak window at $0.09 per kWh (est., typical of published EV plans): 3,600 × $0.09 = $324 — saving $288 a year for setting a timer once.
A smart charger costs roughly $150 more than a basic one (est.), so the premium pays for itself in about six months. Our guide to what an electric car costs per mile shows how that rate choice moves the whole ownership sum; our research method page shows where every figure here came from.
How to organize EV charger installation when you rent or live in a condo
Renters and condo owners run the same six steps with one extra step zero: permission, in writing, before money moves. California’s right-to-charge laws stop landlords and homeowners’ associations refusing a charger outright, though reasonable conditions are allowed. Other states vary; check yours before assuming a no is final — refusals often soften when the request arrives as a tidy written proposal with a licensed electrician’s name on it.
While the paperwork runs, life continues, and Level 1 earns its keep: charging from a regular household outlet adds roughly 3 to 5 miles of range an hour — enough for a short commute, indefinitely, at zero install cost. Renters with a dryer socket near the car sometimes step up to a listed plug-sharing splitter (around $399 by current listings (est.)) that time-shares the dryer circuit with a plug-in charger. A legitimate bridge, not a permanent substitute — and it still needs the landlord’s written blessing.
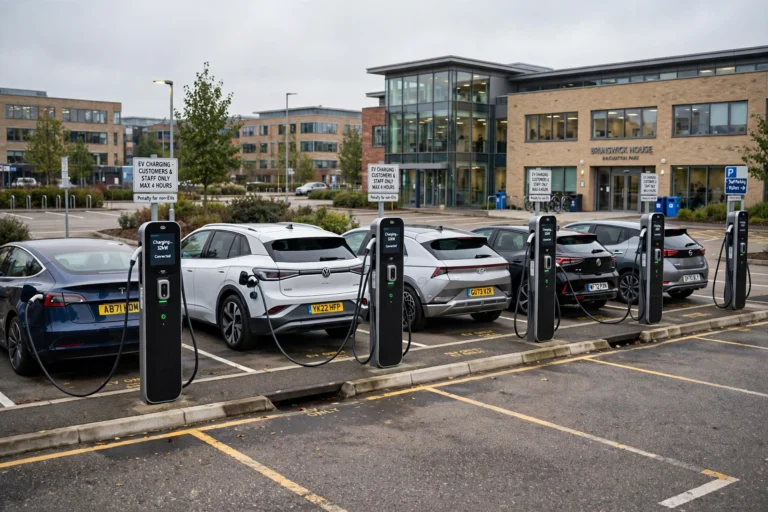
Condos add one genuinely hard problem: shared capacity. A forty-space garage on one panel cannot give everyone a 48-amp circuit, and the grown-up answer is load-managed charging — a row of chargers sharing one fixed budget the way an office shares one internet connection. Per-owner cost usually lands below a solo install (est.); charging runs slower at peak hours. The fight, when owners report one, is rarely about electricity — it is about who pays for the shared backbone. Get that answer in the HOA minutes before you get quotes.
Our verdict on the process itself
Our score: 7/10 — Process clarity: 8/10. Cost predictability: 5/10. Permit ease: 6/10.
The clarity score is high because the sequence is knowable: panel, charger and circuit, comparable quotes, permit, one organized day, then the rate plan. Nothing there requires talent — only order. Cost predictability scores lowest, honestly, because the two numbers that decide your total — the load calculation and the distance — cannot be known from a website; only from your panel and your tape measure. Permit ease lands in the middle: the visit is trivial, the waiting is not. That is the whole of how to organize EV charger installation, really — order first, drilling last. Keep the order and the process deserves its 7; skip it and it scores itself.
Frequently asked questions
How to organize EV charger installation if my panel is only 100 amps?
Start with the written load calculation — many 100-amp houses pass it for a 32- or 40-amp charger. If the numbers fail, fit a listed energy-management device under NEC 625.42 so the charger throttles itself when the house is busy; the worked example above put that at $2,381 against $4,701 for a service upgrade, prices checked October 27, 2026. The upgrade is the last resort.
Do I really need a permit for a home charger?
In most US jurisdictions, yes — a new 240-volt circuit is permitted work, averaging about $282 on Qmerit’s 2026 figures. The permit also unlocks most utility rebates, which require a permitted install, and it is the document a future buyer’s inspector will ask for.
How long does the whole process take, start to finish?
The physical work is typically two to six hours in one visit. The calendar time around it — quotes, permit issue, inspection scheduling — runs from a few days in a quiet jurisdiction to several weeks in a busy one (est.). Owners who start the permit before choosing the install date report the shortest timelines.
Can my landlord or HOA simply say no?
Often, no. A growing list of states has right-to-charge laws that stop landlords and HOAs refusing outright, while allowing reasonable conditions on insurance, appearance and cost. Renters still need written permission; condo owners should expect the capacity question settled by the HOA as a building, not unit by unit.
Is the federal tax credit for home chargers still available?
No — not for new installs. The Section 30C credit (30 percent, up to $1,000) ended for equipment placed in service after June 30, 2026; chargers in service on or before that date in an eligible area can still be claimed on the 2026 return using Form 8911. Installing now? Look to state and utility rebates instead.
In short, learning how to organize EV charger installation saves time, money and stress. When you plan how to organize EV charger installation step by step — panel first, quotes second, permit third — install day itself is simple. That is why how to organize EV charger installation well matters more than the charger you choose.
Owners who know how to organize EV charger installation in advance avoid surprise costs, and a clear plan for how to organize EV charger installation keeps the project calm. Start by planning how to organize EV charger installation on paper, and check how to organize EV charger installation costs again before you book the work.
To plan how to organize EV charger installation, start with the panel, then get quotes, then book the permit. That order is how to organize EV charger installation without surprises, and it is how to organize EV charger installation on a budget. Owners who follow how to organize EV charger installation step by step usually finish faster, because how to organize EV charger installation well means fewer callbacks and less rework.